Showing posts with label crafts. Show all posts

Tuesday, September 6, 2011

Upcycled Sweater Mittens


I just can't get enough of upcycling my old clothes. Especially well loved sweaters that I just can't seem to throw away. This specific sweater has the sweetest buttons all the way down the front. I just love it! The problem? There is a MAJOR, fist sized, hole right in the front of it. No matter how I look at fixing it, I know it will be noticeable. So, it has spent the last 6 months just sitting, waiting, to be thrown out. I finally sat down today, and decided to do something with it (thank you nap time). I decided to made some mittens, since the sweater is 100% wool. I will be making something else too but you'll have to keep an eye out for that in another tutorial!


I decided to use the cuffs on the sleeves to my advantage.


Start by using your own hand (or your child's hand) as a guide for where to cut your sleeve. Be sure to leave yourself lots of extra room!


Cut straight across the sleeve, all the way through.


Turn the sleeve inside out.


Place your hand (or your models) on the sleeve, and use it as a guide to make a mitten shape. You can trace, and then cut, or just cut around your hand. Be sure to leave plenty of room for sewing or surging.


Repeat with the other sleeve to make a second mitten. I know that it looks like I made two of the same mitten here but, they are identical on both sides so, It really doesn't matter. Either mitten can be used for either hand. Sew or serge around each mitten, and then turn right side out.


I love the buttons on this sweater so, I just HAD to recycle them! I snipped off four buttons, two for each mitten.


I hand stitched two buttons onto the "cuff" of each mitten.


Here are my mittens, all ready for some cold weather! Just in time too! This past week the daytime temperature in Ohio went from 100+ degrees down to the mid 60's! It wont be long before we pull out the jackets and mittens! I am sure you will want some upcycled mittens too!Have fun!

Friday, August 26, 2011

Emmeline Apron


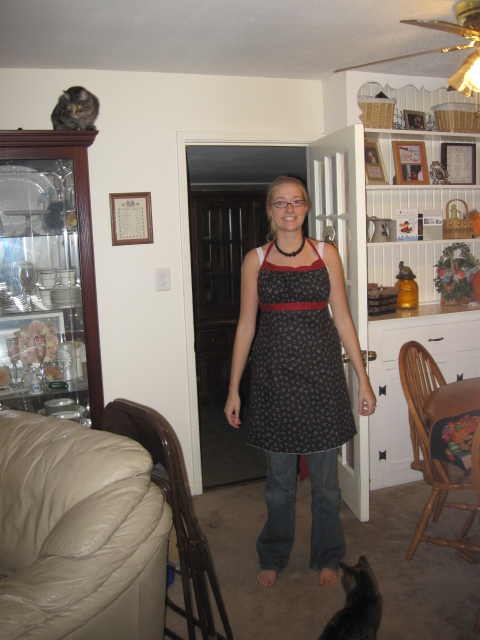
I can't say enough about this apron! It is cute, it is functional, and it is REVERSIBLE! I have made it a total of five times now and every time I make it I love it more and more! I seem to add a new "extra" to it each time as well. This particular apron has an added pocket (shown open and in black on the left side) and a dish towel loop (black loop on the right side). I think the next time around I will add a few pockets to the front, as well as hidden in the sides!

Emmeline Apron

Emmeline Apron

Here is another apron I made from this pattern with a cherry motif! (Sorry about the quality of the pictures! I PROMISE they will get better!)


You can find the pattern from Sew Liberated here!


No, I am not being paid to say such nice things about Sew Liberated! I just really enjoy this pattern!


Wednesday, August 24, 2011

Old Shirt Toddler Dress

I had an old shirt laying around that didn't quite fit. I thought that the band around the chest of the shirt was a nice embellishment but, just not flattering on me. In the end I decided that I would make a much better dress for the Stink Bug!

Old Shirt Toddler Dress

I cut out the front panel of the shirt, cutting the arms of the shirt off just before the seams. I made sure to keep the knit neckline intact to use as straps.


Old Shirt Toddler Dress

I brought the straps around to the back and sewed them at the old waistband. I made sure to try the dress on the Stink Bug before choosing the strap placement and length. Then I just marked where the needed to go while she had the dress on.

Old Shirt Toddler Dress

Old Shirt Toddler Dress


Saturday, August 20, 2011

Pack-N-Play Storage

I was never sure where to store the bag that the Stink Bugs pack-n-play came in when I was using it. Or where to put all of the little odds and ends that I like to have near. You know, toys and blankets, that sort of thing. Here was my solution! (Just be sure to watch the ribbon with the little ones. I am sure you could use shorter ribbon, loops, or a velcro closure.)

Pillow case + ribbon = easy tie on storage! No more explanation needed!

 Pack-N-Play Storage

Monday, August 15, 2011

Comforter "Bean Bag" Chair: Tutorial

Step one: Find a twin comforter that you don't want/use/whatever!

comforter bean bag chair

(Hey, I know that this picture needs to be rotated but I have NO IDEA why it rotated this way! It looks "correct" on my PC but, I don't have any idea why blogger rotates it. Any help would be greatly appreciated!)

Step two: Fold in half "hamburger bun" not "hot dog" style. Cut along the fold so that you have two equal halves.


Step three: Fold into thirds, mark where the folds were, and cut through both halves at each mark.

comforter bean bag chair

Step four: Take one of the rectangles (you should have six) and fold it in half. Then fold in half again.

comforter bean bag chair

Step five: Cut/round the open edge. Be sure not to cut the folded edge. Check out the next picture before you start cutting!

comforter bean bag chair

This is what it should look like after cutting/rounding. Repeat for all six rectangles.

comforter bean bag chair

Step six: Take two of your pieces, right sides together and sew from one "point" to the next "point." be sure to take into consideration which fabric you want to face out. My comforter was reversible so, I alternated which side faced out. When you are sewing, be sure to catch all of the layers, including batting, with the sewing machine.

comforter bean bag chair

Step seven: Add on anther piece, being sure to sew right sides together. Make sure that your "points" line up as closely as possible. Continue to add pieces. On the last piece, leave yourself about 5 or 6 inches open. You will want to be able to turn it right side out.

comforter bean bag chair


Step eight: Turn and fill with your desired stuffing. Foam, poly-fill,
bean bag beans, old blankets, or another comforter. It is up to you! Once filled, hand sew the opening closed that you used to turn it!

comforter bean bag chair

I still have to stuff mine so, here it is looking a little bit sad and deflated! ;-) I'll be sure to add a picture of it filled asap! Maybe even a few with the Stink Bug sitting on it looking at books although, she seems to already be fascinated with sitting on it without the stuffing!


Comforter "Bean Bag" Chair

Comforter Bean Bag Chair
I have had a huge desire lately to make a bean bag chair for the Stink Bug. I had nice visions of her sitting on one, looking through picture books. Unfortunately, those angelic visions are quickly dashed when I think of what cats do to vinyl type bean bags....(scratch, scratch)....and of course.... (hummm this looks like a nice place to use as a little box).... Not very angelic at all.

I decided that if I was going to make one, it would have to be made out of a washable soft fabric. Which is so much nicer to sit on anyways! I found many nice tutorials floating around to make some. Many for round cushion type seat, and even some with removable and washable out sides. I began to pine for all of them. Everything about them. Except, spending money to buy the heavy duty fabric in a nice print. I am cheap. What can I say.

So, I started looking around the house for fabrics that would be durable enough and were not being used currently. Oh, and a fabric that I could spare a few yards of. In the end I came across an old twin comforter that was reversible, and quilted. It was a comforter that I used back in college and has just hung around for someone to love it again. I thought that it would be PERFECT for a nice place to sit. So began a new sewing project. I set out to make an upcycled bean bag chair from and old comforter. Weird, and wonderful! Keep an eye out, I will try to upload the tutorial tonight or tomorrow!
Related Posts Plugin for WordPress, Blogger...